
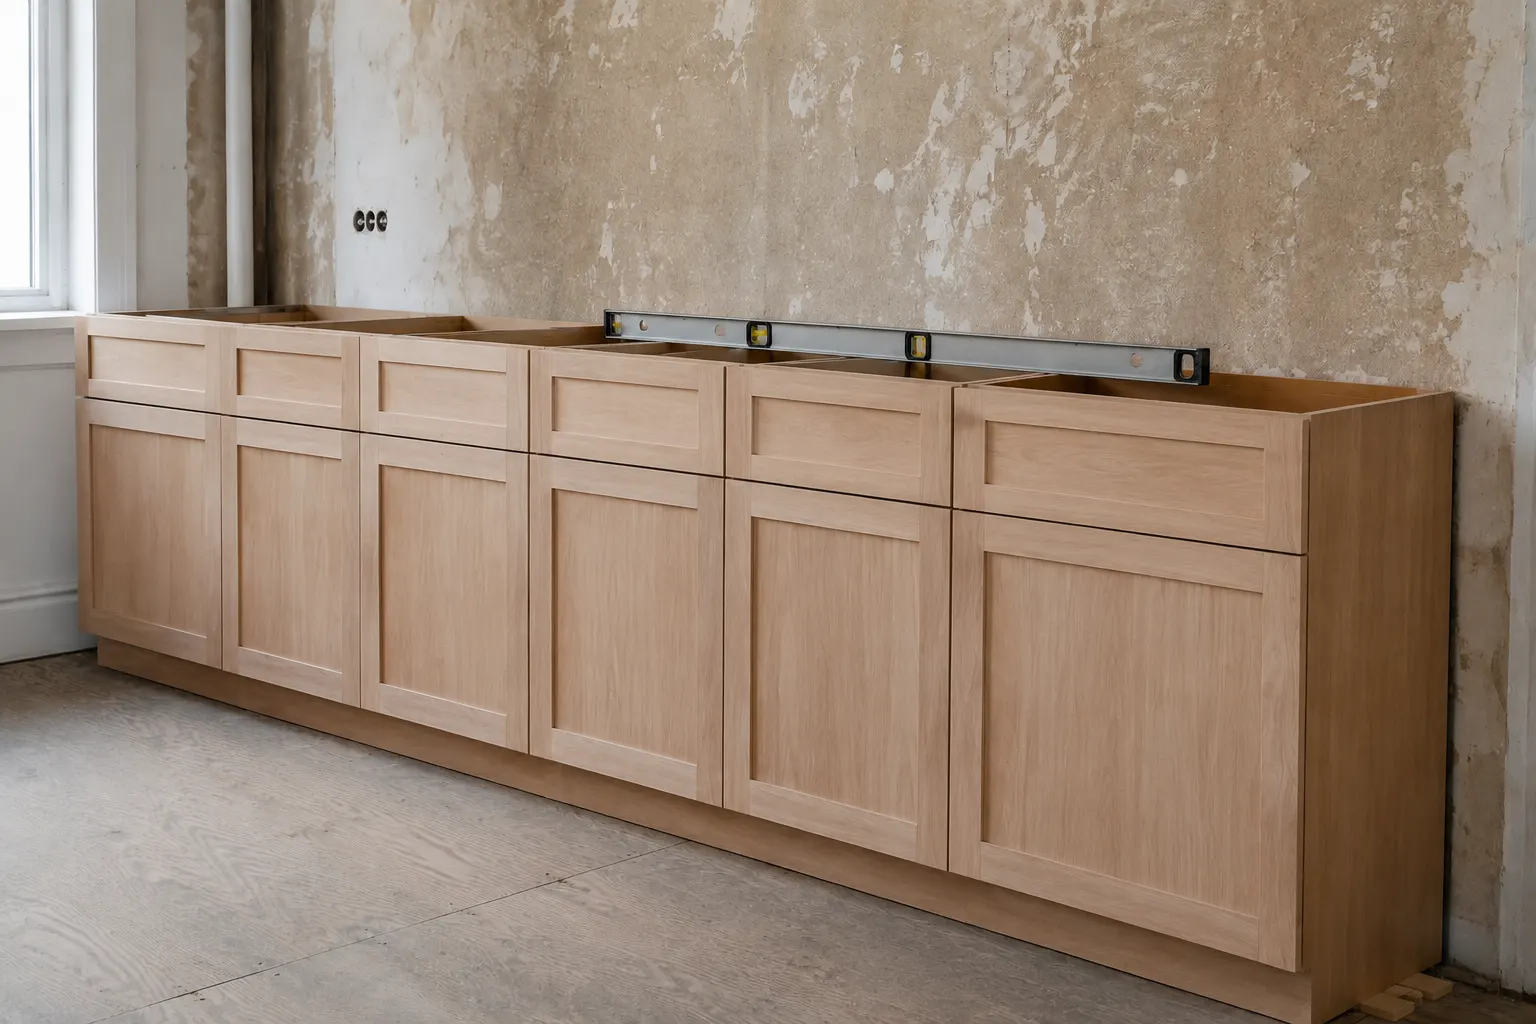
Why Cabinets Never Sit Flush Against a Pre-War Wall
The kitchen arrives on a Tuesday. The boxes come up in the service elevator, the crew sets the base cabinets along the wall, and by lunchtime the run is standing. Then the owner walks in, looks at the far end, and sees a gap between the side of the last cabinet and the wall. At one end it is nothing. At the other you could slide a pencil in.
Nobody made a mistake. The cabinets are square, because they were built in a shop against a machine fence. The wall is not, because it was plastered by hand in 1926 over wood lath, and it has been settling ever since. Every kitchen in an old building is the meeting of one straight thing and one crooked thing, and the entire installation is a series of decisions about where to put the difference.
The wall is not tilted, it waves
People picture an out of plumb wall as a wall that leans. That would be easy. A leaning wall is a single angle, and a single angle can be taken out in one pass.
Old plaster does something else. It rolls. There is a hump where the plasterer leaned in, a hollow 2 feet along, a bulge where a pipe was fitted into a stud bay that was too shallow for it, and a soft wave at the ceiling where the last coat feathered out. Newer walls have their own version of this: drywall builds up at the corners, and a dried blob of adhesive behind a sheet keeps it off the stud forever.
That is why holding a level against the wall in two places tells you nothing. The crew reads the whole surface, marks the high spots, and works from the worst point, because that is the one that sets everything else.
The choice made on install morning that the kitchen keeps
Once the wall is understood, there are two ways to install into it, and they cannot be combined.
The first is to keep the cabinet faces in one straight plane and let the gap behind them do whatever the wall does. The second is to push each box back against the wall so nothing shows behind, which means the run follows the wave and the faces stop being in line.
Every good installer picks the first, and the reason is about the eye rather than about carpentry. Nobody looks at the back of a cabinet. Everybody looks at the doors. Two doors side by side with a gap between them that opens from 1/8 inch at the top to 1/4 inch at the bottom read as broken immediately, even to someone who could not say what is wrong. A gap along a wall, behind a run, at the height of a countertop, is invisible until it is pointed out.
So the faces stay true, the difference goes to the wall, and the job becomes hiding it.
Where the difference is hidden
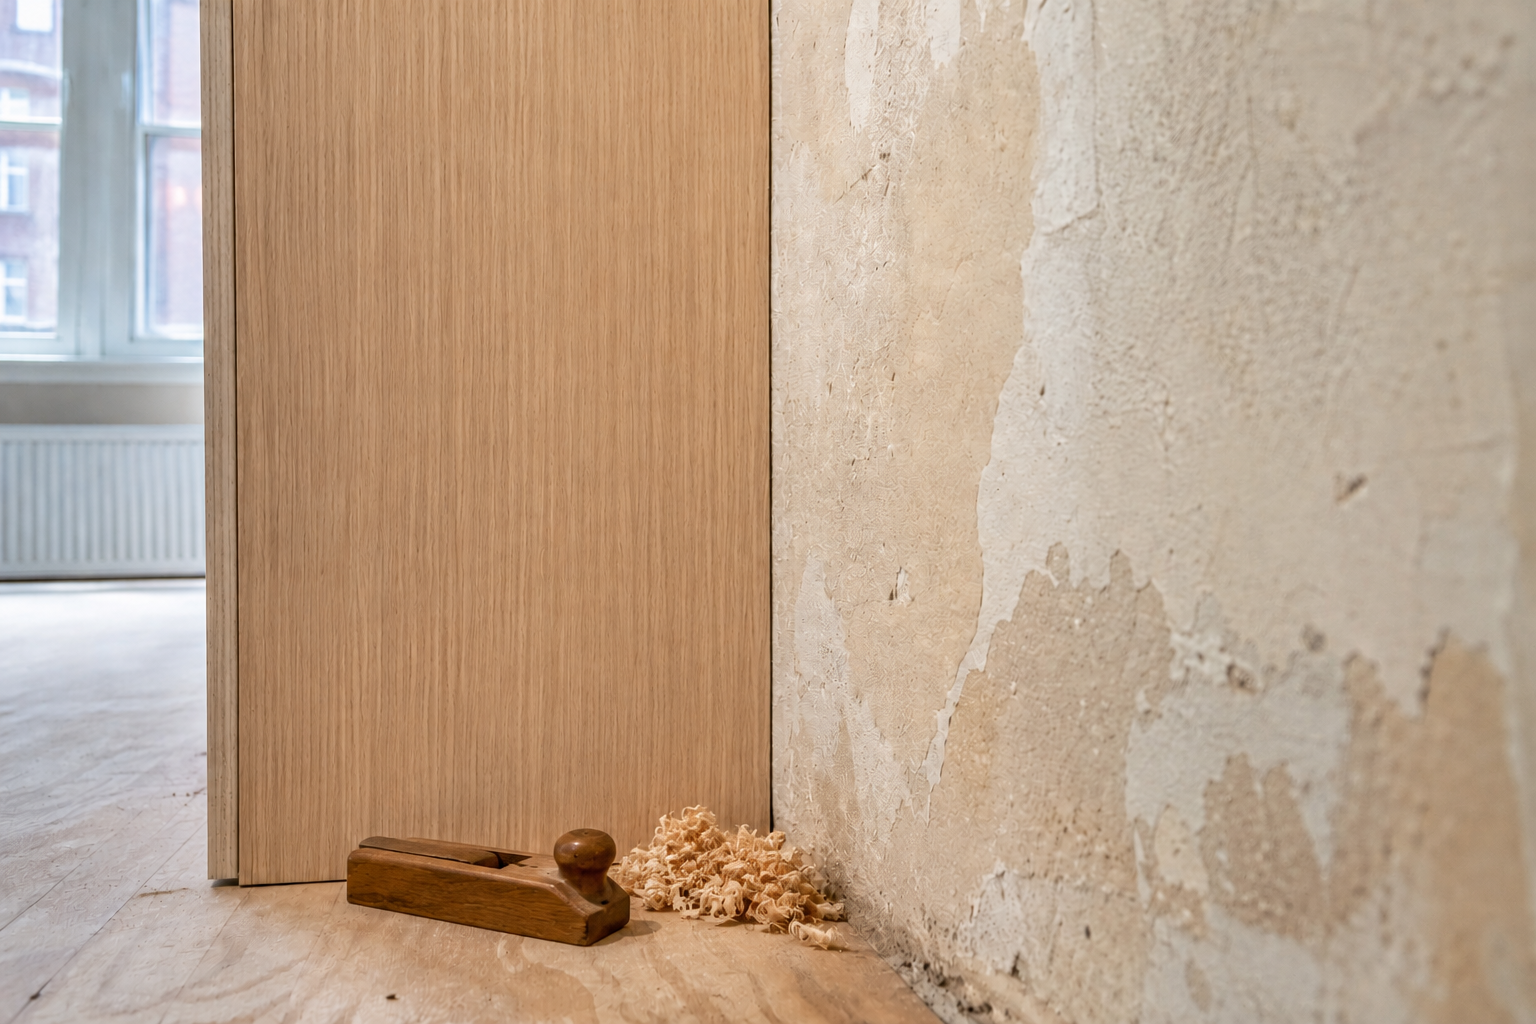
There are three ways to absorb it, and they cost different things.
The cheapest is a scribe. The exposed edge of the end panel is made deeper than the box itself, usually by 1/2 to 3/4 inch, and that extra material is cut away on site to the exact shape of the wall. On a raised panel end, or any end with built up molding, the allowance goes into a wider stile instead, commonly 1 to 2 inches, because there is no flat edge to deepen. A compass runs along the plaster with its point on the wall and its pencil on the panel, copying every hump and hollow onto the wood. Then the line is cut proud, offered up, shaved back with a block plane, offered up again. Done well it closes to almost nothing, and it is the only one of the three that closes the gap at the cabinet itself: no added piece to see, and no work on the wall.
The second is a filler, a strip of matching material between the last cabinet and the wall, itself scribed to the wall. It is faster and it is honest, but it eats width, and width in a Manhattan kitchen is the one thing there is never any of. Stock boxes step in 3 inch increments, so a pair of fillers an inch each can be the difference between a drawer base of one size and the next one down. What that costs is not the inch of wood. It is whatever no longer fits inside the drawer, and that is worth checking against the trays and pans actually in use before the width is given away.
The third is to fix the wall: float it flat with plaster before anything is installed. This is the only method that solves the problem instead of managing it, and it is by far the most expensive. In a co-op it is also the slowest. Swapping the kitchen already puts you in front of the building, because in most buildings the trigger for a decoration or minor alteration agreement is hiring a contractor at all, not how structural the work is. Which agreement covers plaster work, and how long the review takes, is set by that building’s own alteration agreement rather than by any city rule, so floating a wall goes to the managing agent for an answer before it goes on the schedule.
Caulk is not a fourth method. It is a sealant, and it finishes a joint that has already been fitted: a hairline left after a good scribe closes with a bead and disappears. Past about 1/4 inch it stops reading as a joint and starts reading as filler, it splits along its length within a season, and a wall gap that was closed with caulk alone is the clearest signal there is that the run was pushed into place rather than fitted.
Spread it out or gather it in one place
The second decision is about a different quantity. The wall wave is depth, and it has already been sent behind the run. What is left over now is length: the wall between two corners is never exactly as long as the boxes plus the fillers drawn for it, and 1 or 2 inches of run length has to go somewhere. The cabinets themselves stay tight to each other, doors in line and face frames touching, holding the single plane decided on install morning. The leftover length goes into the filler strips and into the joints where the run meets a wall or a return, never into the joints between two doors.
There it can be shared out, a little added to the filler at each end and each break in the run, so no single strip is wide. Or it can be driven along the run and gathered into one filler, so every filler but one is thin and one is visibly wider.
Gathering it wins more often, because a series of odd filler widths reads as sloppy work while one deliberate wide filler reads as a detail, provided it lands somewhere that makes sense: an inside corner, the return at the end of a run, the side of a tall cabinet against a doorway. That choice takes about 5 minutes to make on the morning of the install, and the kitchen carries it for as long as it stands.
The floor decides the countertop
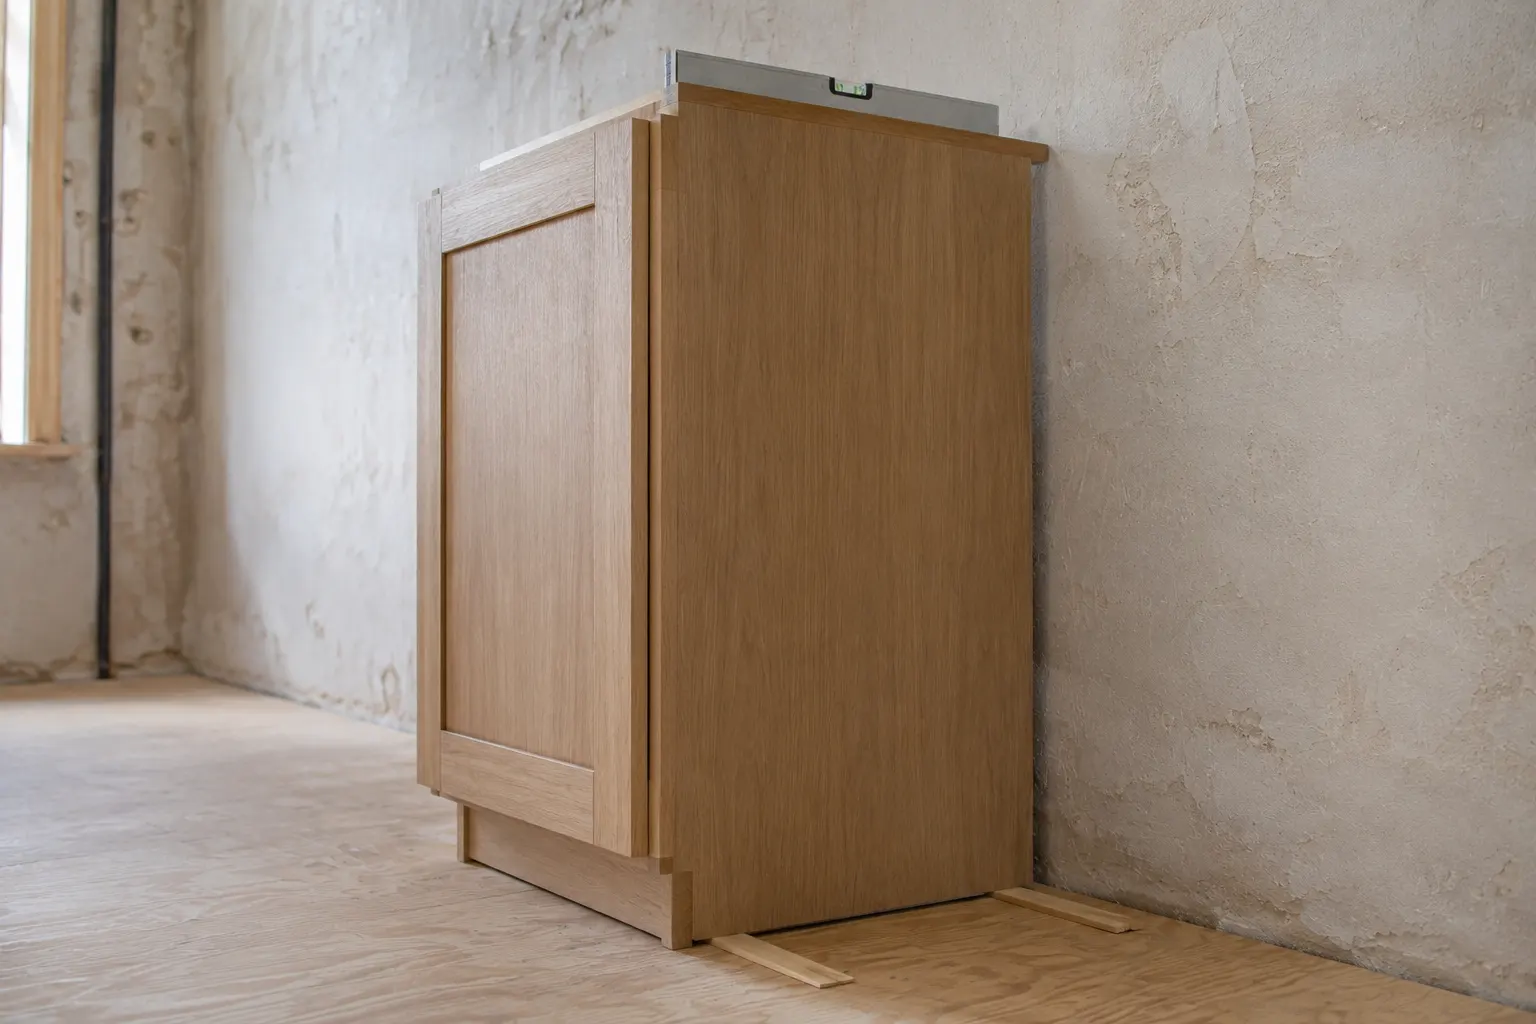
Walls are the visible half. The floor is the half that determines whether the kitchen works.
Floors in old buildings dip toward the middle of a span and rise over a beam, and a kitchen wall long enough for a full run will almost never be level end to end. So the crew does not build off the floor at all. They find the highest point of the floor along the run, measure up from there, snap a level line on the wall, and everything gets set to that line. Shims go under the boxes in pairs, one at the back and one at the front, because a shim only at the back twists the box and a twisted box has doors that will not sit right no matter how the hinges are adjusted.
The reason for all of it is the countertop. Stone is inflexible and it is the most visible plane in the room. Set the cabinets to the floor and the countertop takes on the slope of the floor, a glass rolls, and the seam between two slabs opens on one side. Set them to a level line and the countertop is true, while the difference drops to the bottom of the run, where the toe kick covers it.
Some shops go further and build the toe kick as a separate platform: level the platform first, then set the boxes on top of it. The floor argument happens once, on the platform, instead of once under every box.
Two dates that set the price of all this
Here is the part worth knowing before anything is ordered, because it is the only part a homeowner controls.
While the cabinets are still a drawing, a wavy wall costs nothing. The shop adds depth to the exposed end panels, allows for a filler where the run meets a wall, and the extra material is a rounding error on the order. The installer then has something to cut away.
After the order goes into production without that allowance, the same wall costs a remake and the weeks that come with it, because a finished end panel with no extra material cannot be scribed. There is nothing to remove. The choice narrows to a visible gap, an applied strip of scribe molding tacked over the joint, or new parts.
Which leads to the second date that matters: the measure. In a pre-war apartment the field measure has to happen after demolition, not before. The number that matters is taken off the surface the cabinets will actually meet on installation day, which is whatever is left standing once the old kitchen is out plus any new finish coat that goes on after that, and that surface can sit 1/2 inch away from where the old plaster and its cabinets stood. Measuring a kitchen before the old one comes out is measuring the wrong room, and it is the most common reason a perfectly good cabinet order does not fit the apartment it was built for.
In a building put up before April 1, 1987, that date is not entirely yours to pick. Before anything is opened up, the owner has to have an asbestos survey done by a DEP-certified asbestos investigator, and that obligation does not depend on whether a permit is involved: it applies to the work itself. Where the job does run under a DOB permit, the investigator’s finding is filed with DEP as an ACP-5 and DOB checks for it before the permit is issued. Either way the day the wall is finally exposed, and with it the day the shop can measure, sits behind that survey.
The appliances have no give
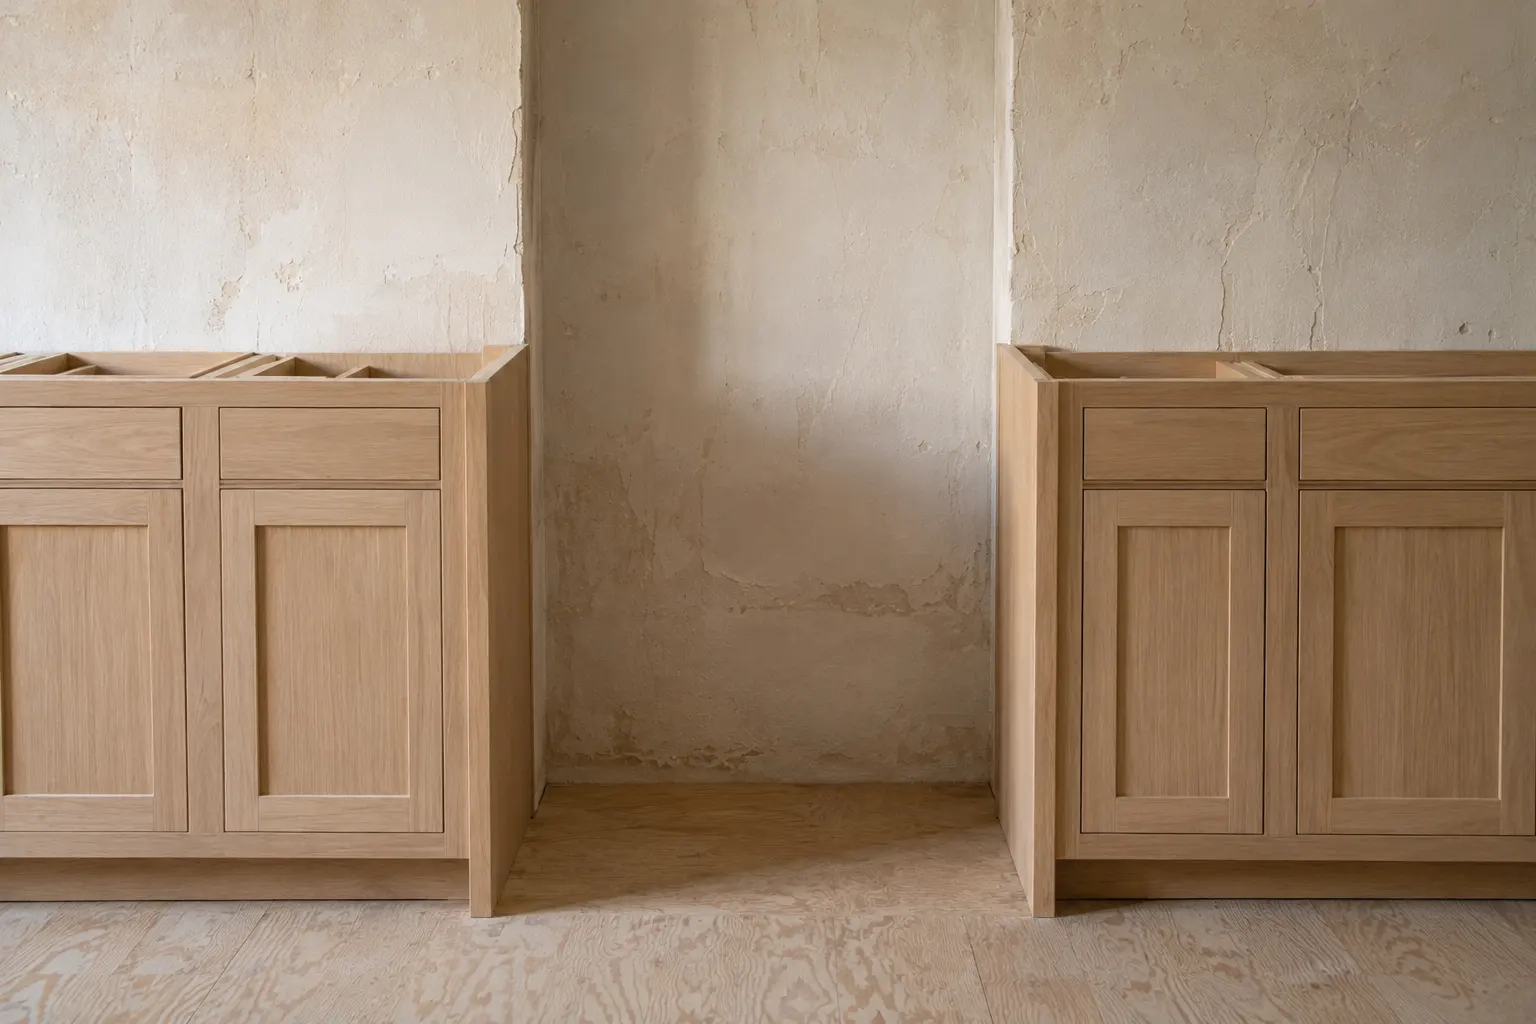
Cabinets can be shaved. A refrigerator cannot.
Appliances are the one part of the kitchen with no tolerance at all: a fixed width, a door that needs a specific amount of air to open past 90 degrees, and interior shelves that at a 90 degree stop come out only at an angle, or after other parts are taken off first. When the allowance for the wall gets consumed elsewhere in the run, the opening left for the refrigerator is the thing that quietly shrinks, and nobody discovers it until the delivery arrives, weeks after the cabinets went in and long after anything can be moved.
This is why the appliance openings get set first and protected, and the wall is dealt with in what remains, rather than the other way around.
Somebody has to take the difference
No wall is straight, no floor is flat, and no cabinet is anything else. The difference between the two exists on every job, and the only real question is who takes it and when.
Taken at the drawing stage, by a shop that allowed material to cut away, it costs a few dollars of wood. Taken on installation day, by a crew that knows to gather it in one honest joint, it costs an hour. Taken at delivery, when a refrigerator will not go into its opening, it costs a remake, and a remade run comes back on the shop lead time rather than on yours.
When a kitchen is quoted, that is worth one question to whoever is building it: where are you planning to put the wall.
Cabinet Refacing or New Cabinets: When Each Is Worth It
The choice between refacing and new cabinets rarely comes down to taste. It comes down to three thin

Texture Talk: Adding Depth and Warmth to Your Interiors
Color gets all the credit. Furniture gets all the attention. But texture is what makes a room feel a

Vinyl Plank vs. Microcement: High-End Flooring in 2026
If you’re standing in a flooring aisle trying to work out what the difference is between all t