

Microcement Bathroom: The Seamless Alternative to Tile
If you’ve ever spent an afternoon scrubbing grout lines, you’ve probably had the thought that there must be a better option. Traditional tile looks excellent when it’s new, but the grout eventually becomes the hardest part of the bathroom to maintain, collecting soap residue, mold, and moisture until cleaning it turns into a permanent chore.
Microcement offers a different approach. Rather than installing dozens or hundreds of individual tiles, the system creates one continuous surface across floors, walls, and even the shower, producing a finish that reads as clean and contemporary and stays that way with very little effort.
The material has been used widely across Europe and South America for years, particularly in modern interior work, and it has gained real traction in the United States more recently. Designers and contractors working in dense cities have started recommending it for apartment renovations because it solves several practical problems at once. Chief among them is that a microcement bathroom can often be installed without removing the existing tile, which cuts demolition, noise, dust, and construction time substantially. In Manhattan apartment buildings, where renovation logistics are genuinely complicated, avoiding demolition can change the character of the entire project.
What is microcement?

Microcement is a polymer-modified cement coating made from fine cement powder, quartz sand, and specialized acrylic resins, which together cure into a surface that’s flexible yet extremely durable.
What sets it apart is how thin it is. The complete system typically measures only two to three millimeters, which means it can be applied directly over many existing surfaces without meaningfully changing floor heights or wall dimensions. Installers regularly apply it over:
- Ceramic or porcelain tile
- Concrete or cement screed
- Drywall and cement board
- Plaster walls
- Wood substrates, with proper preparation
Once applied and sealed, the finish resembles smooth architectural concrete, though it feels warmer and more refined than raw concrete because the texture and color are controlled deliberately during application.
You’ll also see the material called microconcrete, micro concrete, or microtopping. These usually refer to the same system, though microconcrete occasionally describes a slightly coarser mix with larger mineral particles that adds texture or slip resistance. In everyday practice the terms are used interchangeably.
Why it works so well in a bathroom

Bathrooms are demanding rooms. Materials have to handle constant moisture, daily cleaning, and temperature swings, while the space itself needs to feel calm and comfortable. Microcement handles that combination better than most people expect.
The absence of grout is the headline advantage. Traditional tile depends on grout joints between every piece, and those joints trap dirt, soap residue, and moisture over time, discoloring or growing mold even with regular cleaning. Microcement removes them entirely, turning the room into a single continuous surface.
It can also frequently go directly over existing tile, which matters enormously in New York where demolition is expensive, slow, and disruptive to everyone in the building. That single capability is why the material has caught on so quickly in Manhattan renovations.
Properly specified, it performs very well in wet areas including shower walls and floors, provided it’s paired with the correct primer, waterproofing membrane, and topcoat sealer. Worth being precise here: the microcement itself is a finish, and the waterproofing membrane underneath it is what actually keeps water out of the structure. The two work as a system, and neither substitutes for the other.
A seamless surface flowing from floor to wall without interruption also makes a small bathroom read as larger than it is, which is another reason the material suits Manhattan apartments so well. And when installed by experienced hands and sealed properly, a microcement surface can last twenty to thirty years or more.
It bonds well to radiant floor heating and transfers warmth efficiently, with most installers requiring the heating system to stay off for at least a week before and after application. In a Manhattan co-op or condo, though, radiant heating is not simply a technical choice. Because these systems build up the floor assembly and often involve the slab, installing one requires board approval, and the electrical work needs to be permitted. Confirm what your building allows before designing around a heated floor.
Microcement bathroom floors

A microcement floor handles daily foot traffic, moisture, and the occasional dropped object without difficulty. Once sealed it becomes water-resistant and genuinely easy to maintain, and in most cases warm water with a mild neutral soap is all the cleaning it needs.
Most installers recommend a matte or satin finish for floors, since high-gloss surfaces can become slippery when wet while matte reads more naturally and offers better grip. Where children or older residents are in the household, an anti-slip topcoat sealer is worth specifying.
Installation involves:
- Preparing and priming the substrate
- Applying two or three thin microcement layers
- Sanding between them to reach a smooth texture
- Sealing the surface with multiple protective coats
From first coat to full cure, the process generally runs four to seven days.
Microcement in the shower

The shower is where the material’s advantage is clearest, since the seamless approach replaces separate tiles, grout lines, and a visible shower pan with one integrated surface. It works particularly well in the walk-in showers with linear drains that dominate contemporary bathroom design, because once the drain is set and the slope is correctly formed, the whole area can be waterproofed and coated continuously.
Waterproofing is where the outcome is decided. Before the first layer of microcement goes on, the substrate has to be fully protected, and a typical system includes:
- Waterproof reinforcement tape at every wall and floor joint
- A liquid waterproofing membrane across the shower floor and lower walls
- Reinforcement mesh embedded in the first microcement layer
- A durable polyurethane topcoat rated for constant moisture exposure
Mistakes at this stage are expensive to correct, which is why most contractors strongly recommend professional installation for showers rather than a DIY attempt.
Slip resistance deserves specific attention inside the shower. Many installers select products formulated for wet areas or apply a textured topcoat that improves grip without altering the appearance.
Microcement walls
Walls finished in microcement produce a calm, minimalist effect, replacing tile patterns and grout lines with a continuous texture closer to natural plaster or architectural concrete. The look sits comfortably in both modern and transitional bathrooms.
The material adheres to drywall, cement board, plaster, concrete, and existing tile, with the essential requirement being that the substrate is stable and free of structural movement. Large cracks or unstable surfaces need repair before anything is applied.
Because the coating is so thin, it adds almost no weight or thickness to the wall, which is a real advantage in a small bathroom where every inch counts.
 Applying microcement over existing tile
 Applying microcement over existing tile
The ability to cover existing tile is what makes this material so attractive for apartment renovations. Rather than removing the old tile and starting over, installers prepare the surface and apply microcement directly on top.
Three conditions have to be met for that to work. The existing tiles must be firmly attached with nothing loose or hollow-sounding, the surface must be thoroughly cleaned of soap residue, wax, and silicone sealants, and the grout lines need to be filled or leveled so they don’t telegraph through the finished surface.
The process runs through:
- Surface cleaning and preparation
- Primer application for non-porous surfaces
- A first microcement layer with reinforcement mesh
- Sanding followed by additional layers
- Final sanding and protective sealing
One practical detail specific to Manhattan bathrooms is worth checking before you start. Going over existing floor tile adds two to three millimeters, and while that sounds negligible, a small pre-war bathroom often has very little clearance to give. That buildup can interfere with a door that already swings tightly over the floor, create a lip at a threshold where the bathroom meets an adjoining room, or complicate a marble saddle that’s already sitting flush. Measure the door undercut and threshold heights during planning, since adjusting a door or a saddle afterward is straightforward but far easier to anticipate than to discover.
Colors and finishes

Unlike raw concrete, microcement can be tinted across a wide range. Popular choices in the American market include warm greys and greige tones, soft off-whites for spa-style interiors, beiges and sands paired with wood accents, charcoal and deep greys for more dramatic modern rooms, and taupes and earthy browns drawn from Mediterranean design.
Matte finishes give the most natural look and hide water marks well. Satin adds a subtle sheen and cleans slightly more easily. Gloss finishes exist but see less use in wet areas, since they show water spots readily.
What it costs
Across the United States, professionally installed microcement generally runs between $28 and $38 per square foot including labor, which puts a typical bathroom somewhere between $3,000 and $8,000 depending on size, how many surfaces are covered, and the complexity of the waterproofing.
Those are national figures, and Manhattan sits well above them. Higher labor rates, insurance requirements, elevator scheduling, building protection, restricted work hours, and debris removal rules all push the real number up, and it’s reasonable to expect a meaningful premium over the national range for the same scope in a Manhattan apartment. Treat published national pricing as a starting point for comparison rather than a budget, and get a quote based on your actual building.
Showers cost more per square foot than standard walls in any market, because of the additional preparation and waterproofing they require.
For DIY work on dry walls and decorative surfaces, material costs can fall to roughly $1.50 per square foot covering primer, the microcement mixture, and sealer. A word of caution for apartment residents: even work you plan to do yourself in a bathroom can require notifying your building, since co-op and condo bylaws commonly cover any work in a wet area given the risk to the unit below, and some buildings require approval or proof of insurance regardless of who is holding the trowel. Check your alteration rules before you buy materials rather than after.
DIY versus professional installation

DIY can work for smaller projects such as decorative bathroom walls, vanity surfaces, or stable tile areas that don’t take constant water exposure, and several manufacturers sell homeowner kits complete with primers, coatings, and sealers.
Professional installation becomes important for walk-in showers, for larger bathrooms where consistent texture across a big surface is difficult to achieve, and for any surface with existing cracks or structural movement. The real risk in a DIY project is improper waterproofing, because once water gets behind the microcement layer, the repair is considerably more expensive than the original installation would have been.
 Cleaning and maintenance
 Cleaning and maintenance
Daily cleaning usually needs nothing beyond water and a microfiber cloth, and a pH-neutral cleaner handles soap residue or limescale buildup.
Avoid acidic products such as vinegar or lemon-based cleaners entirely. Abrasive pads, bleach, ammonia, and chlorine-based cleaners should never touch a microcement surface.
In high-traffic wet areas like a shower floor, the protective sealer may need refreshing roughly every five years. Resealing is straightforward and typically takes a single day.
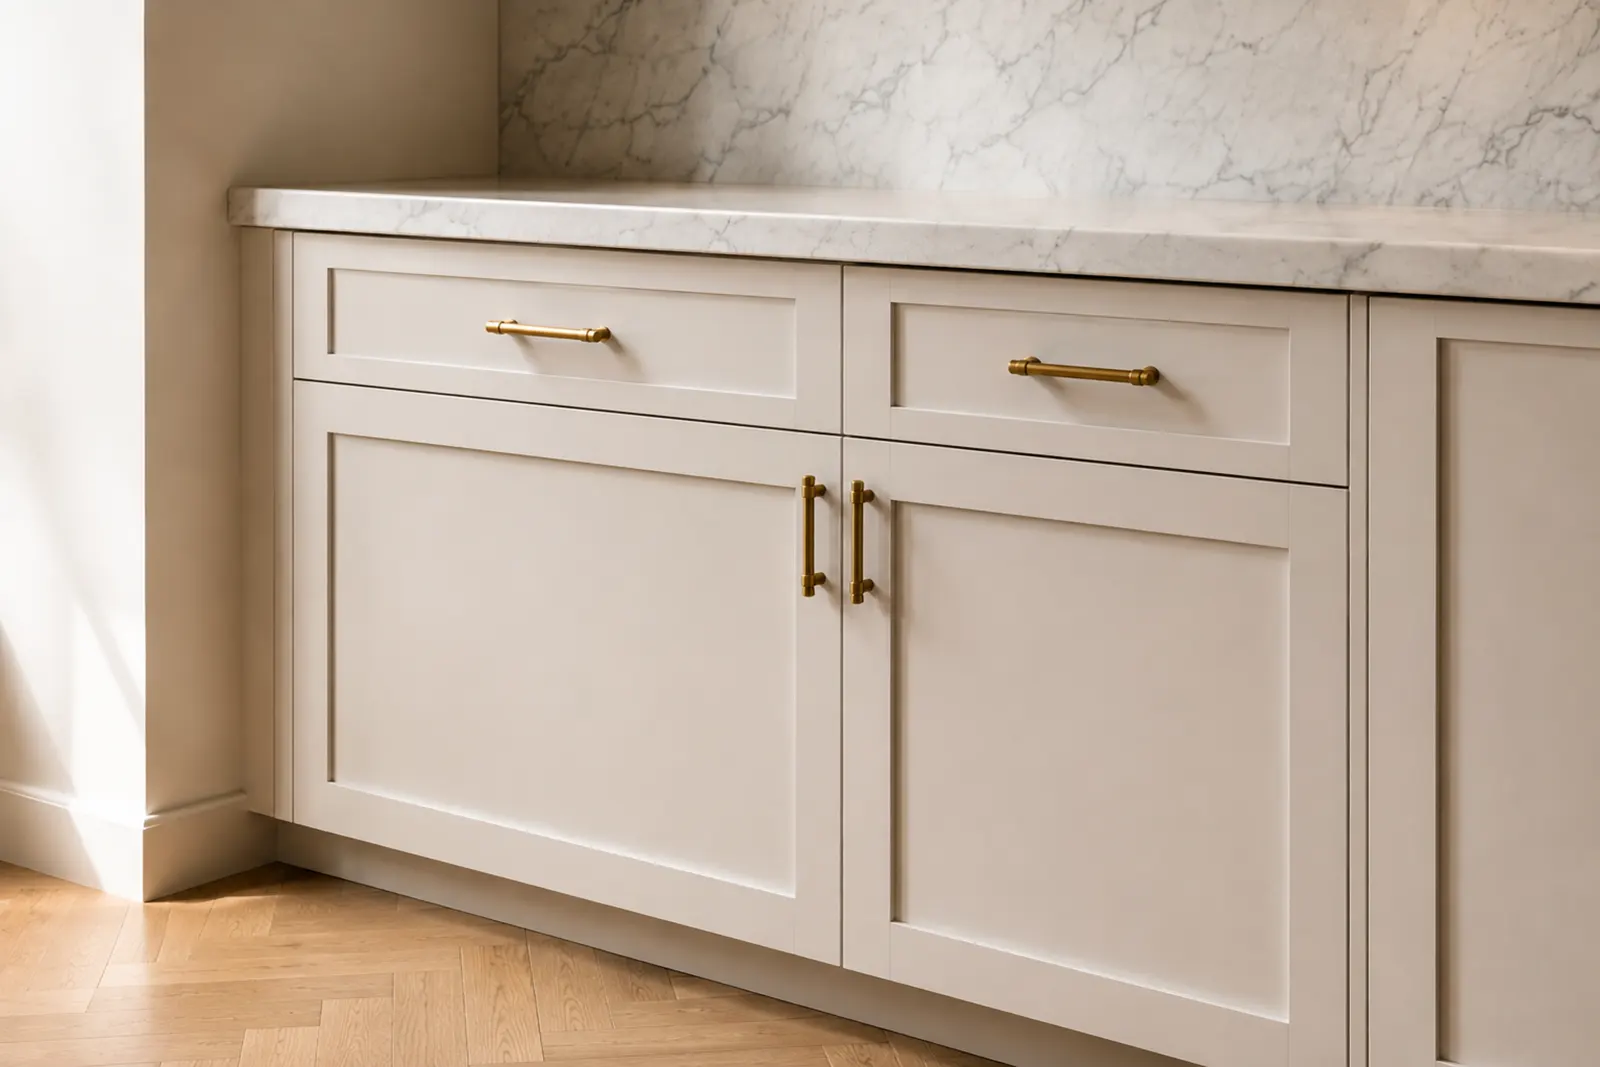
Cabinet Hardware Sizing Starts With the Door
Cabinet hardware is bought last and installed last, usually after the cabinets are hung and everyone
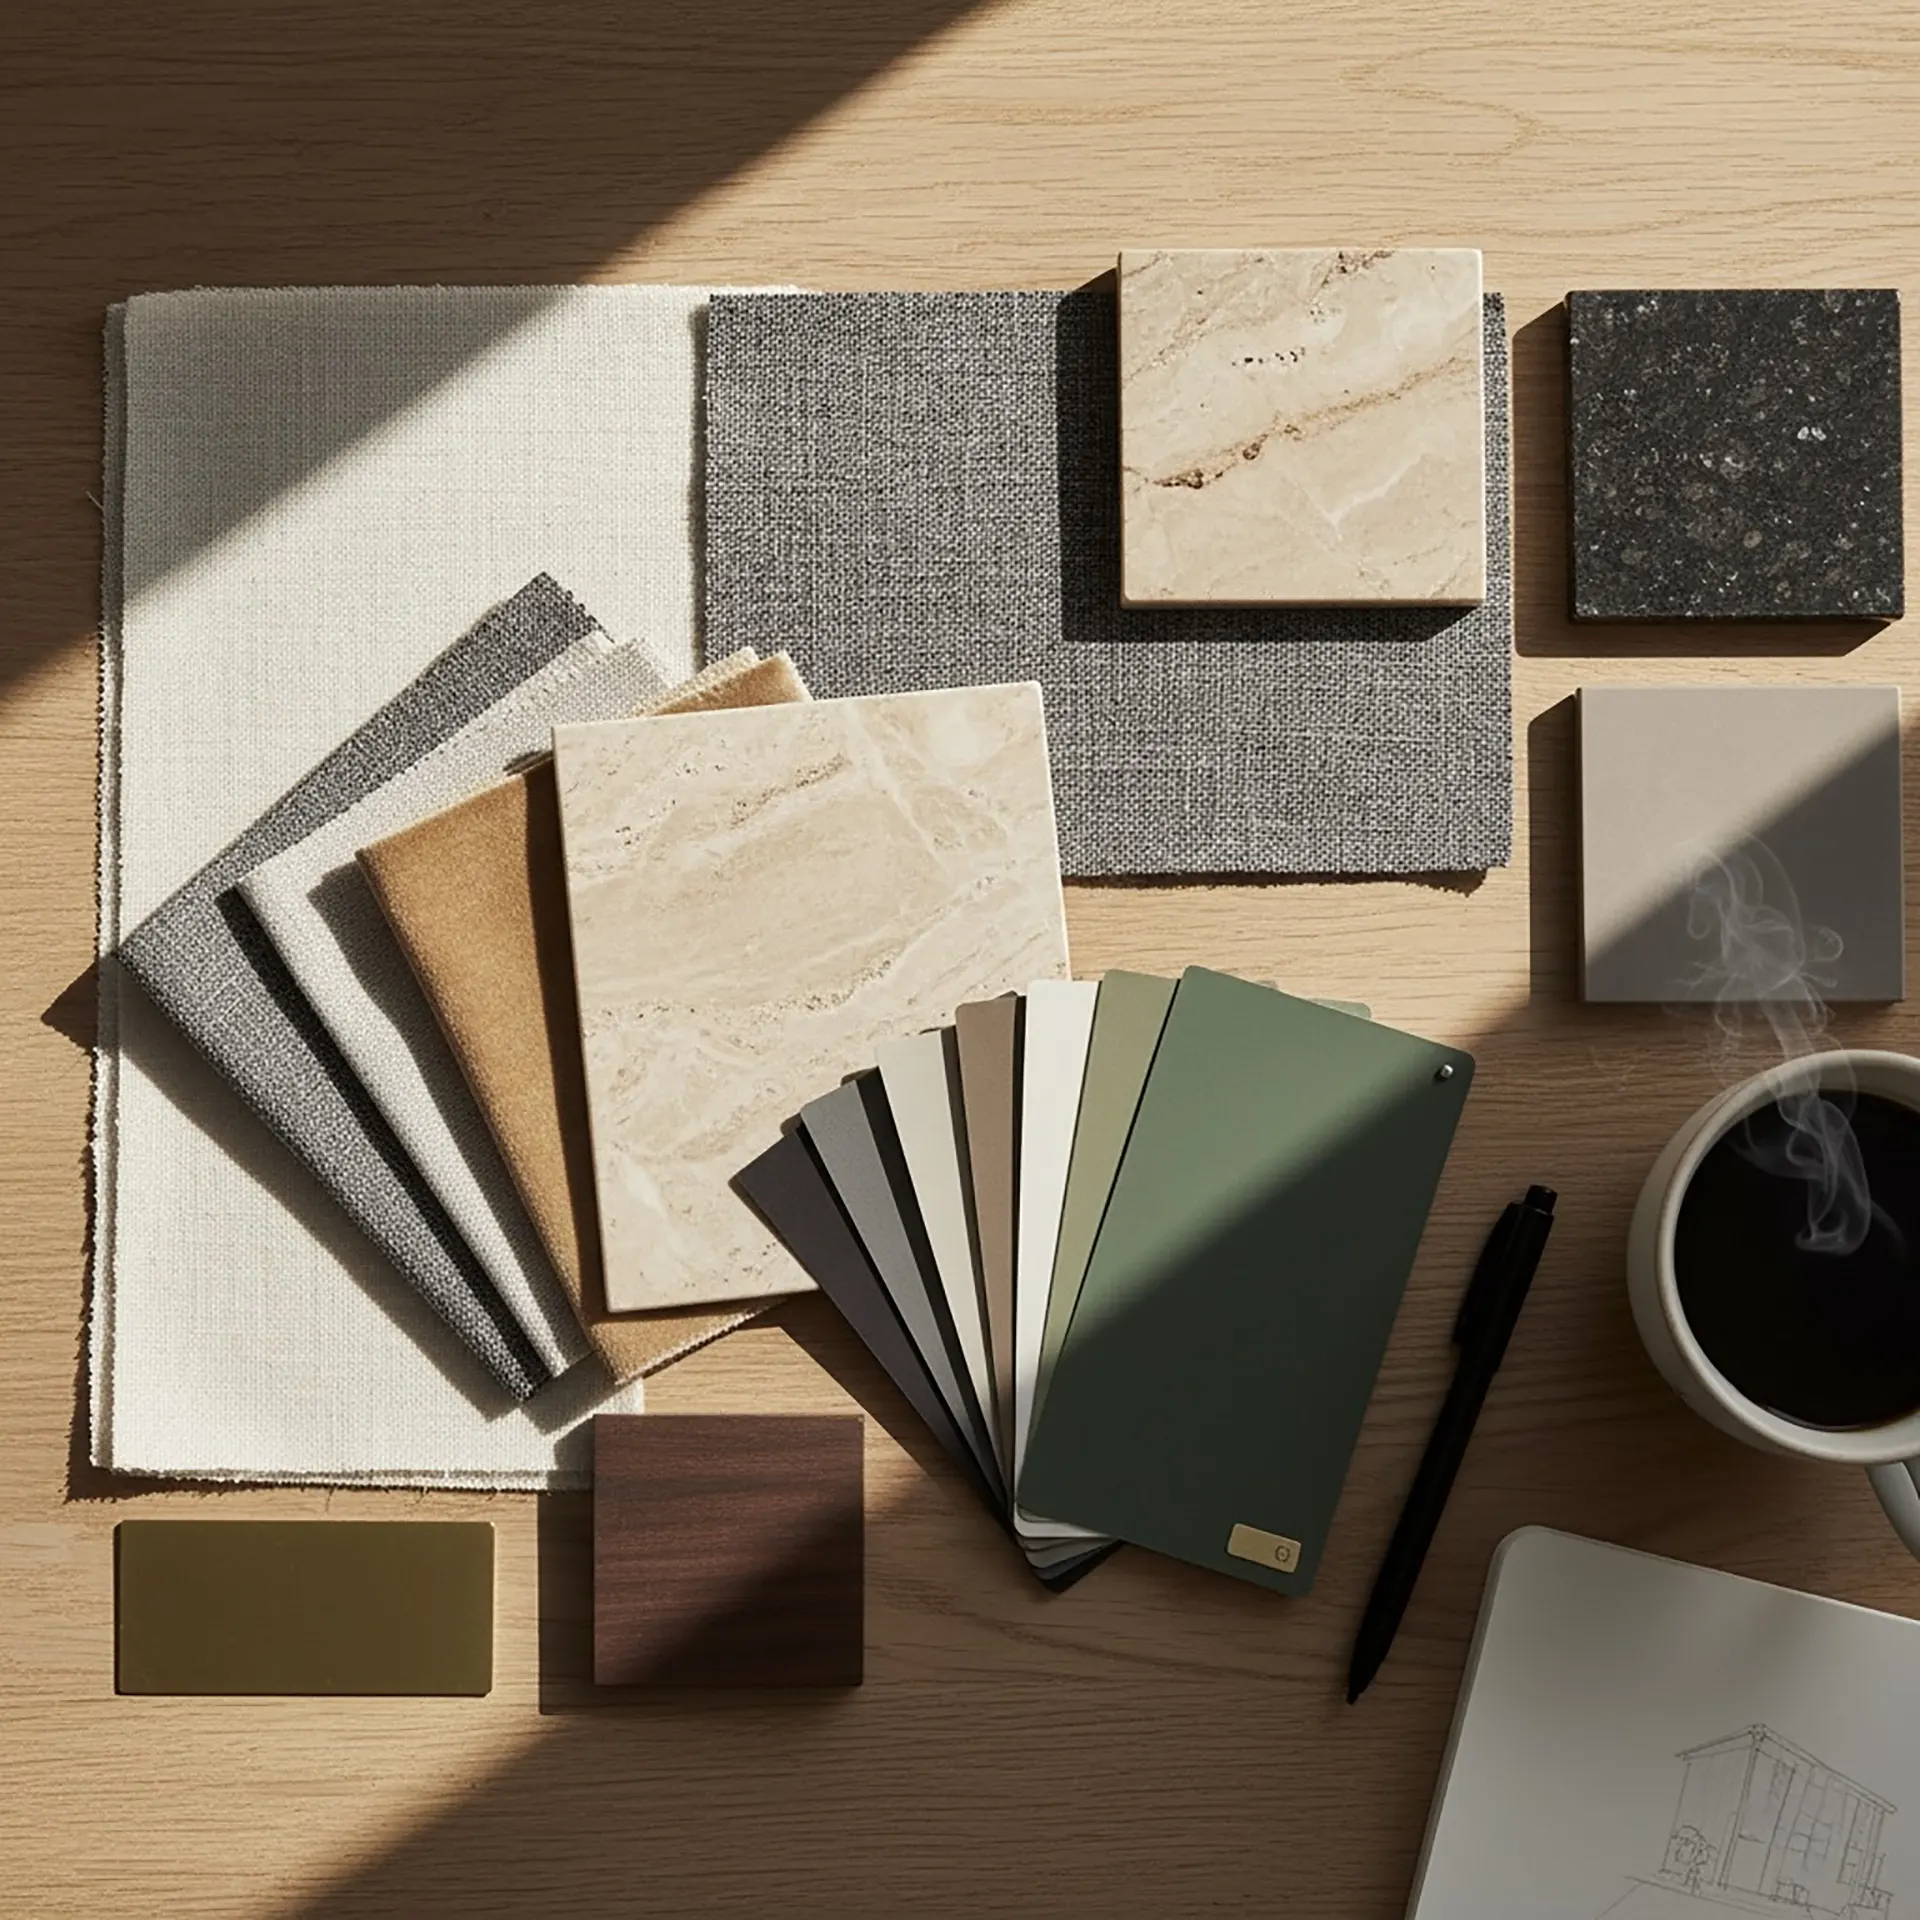
The Manhattan Palette: Timeless Color Combinations for Urban Interiors
Manhattan has always been a canvas for design: a vertical gallery of glass, steel, and stone that re
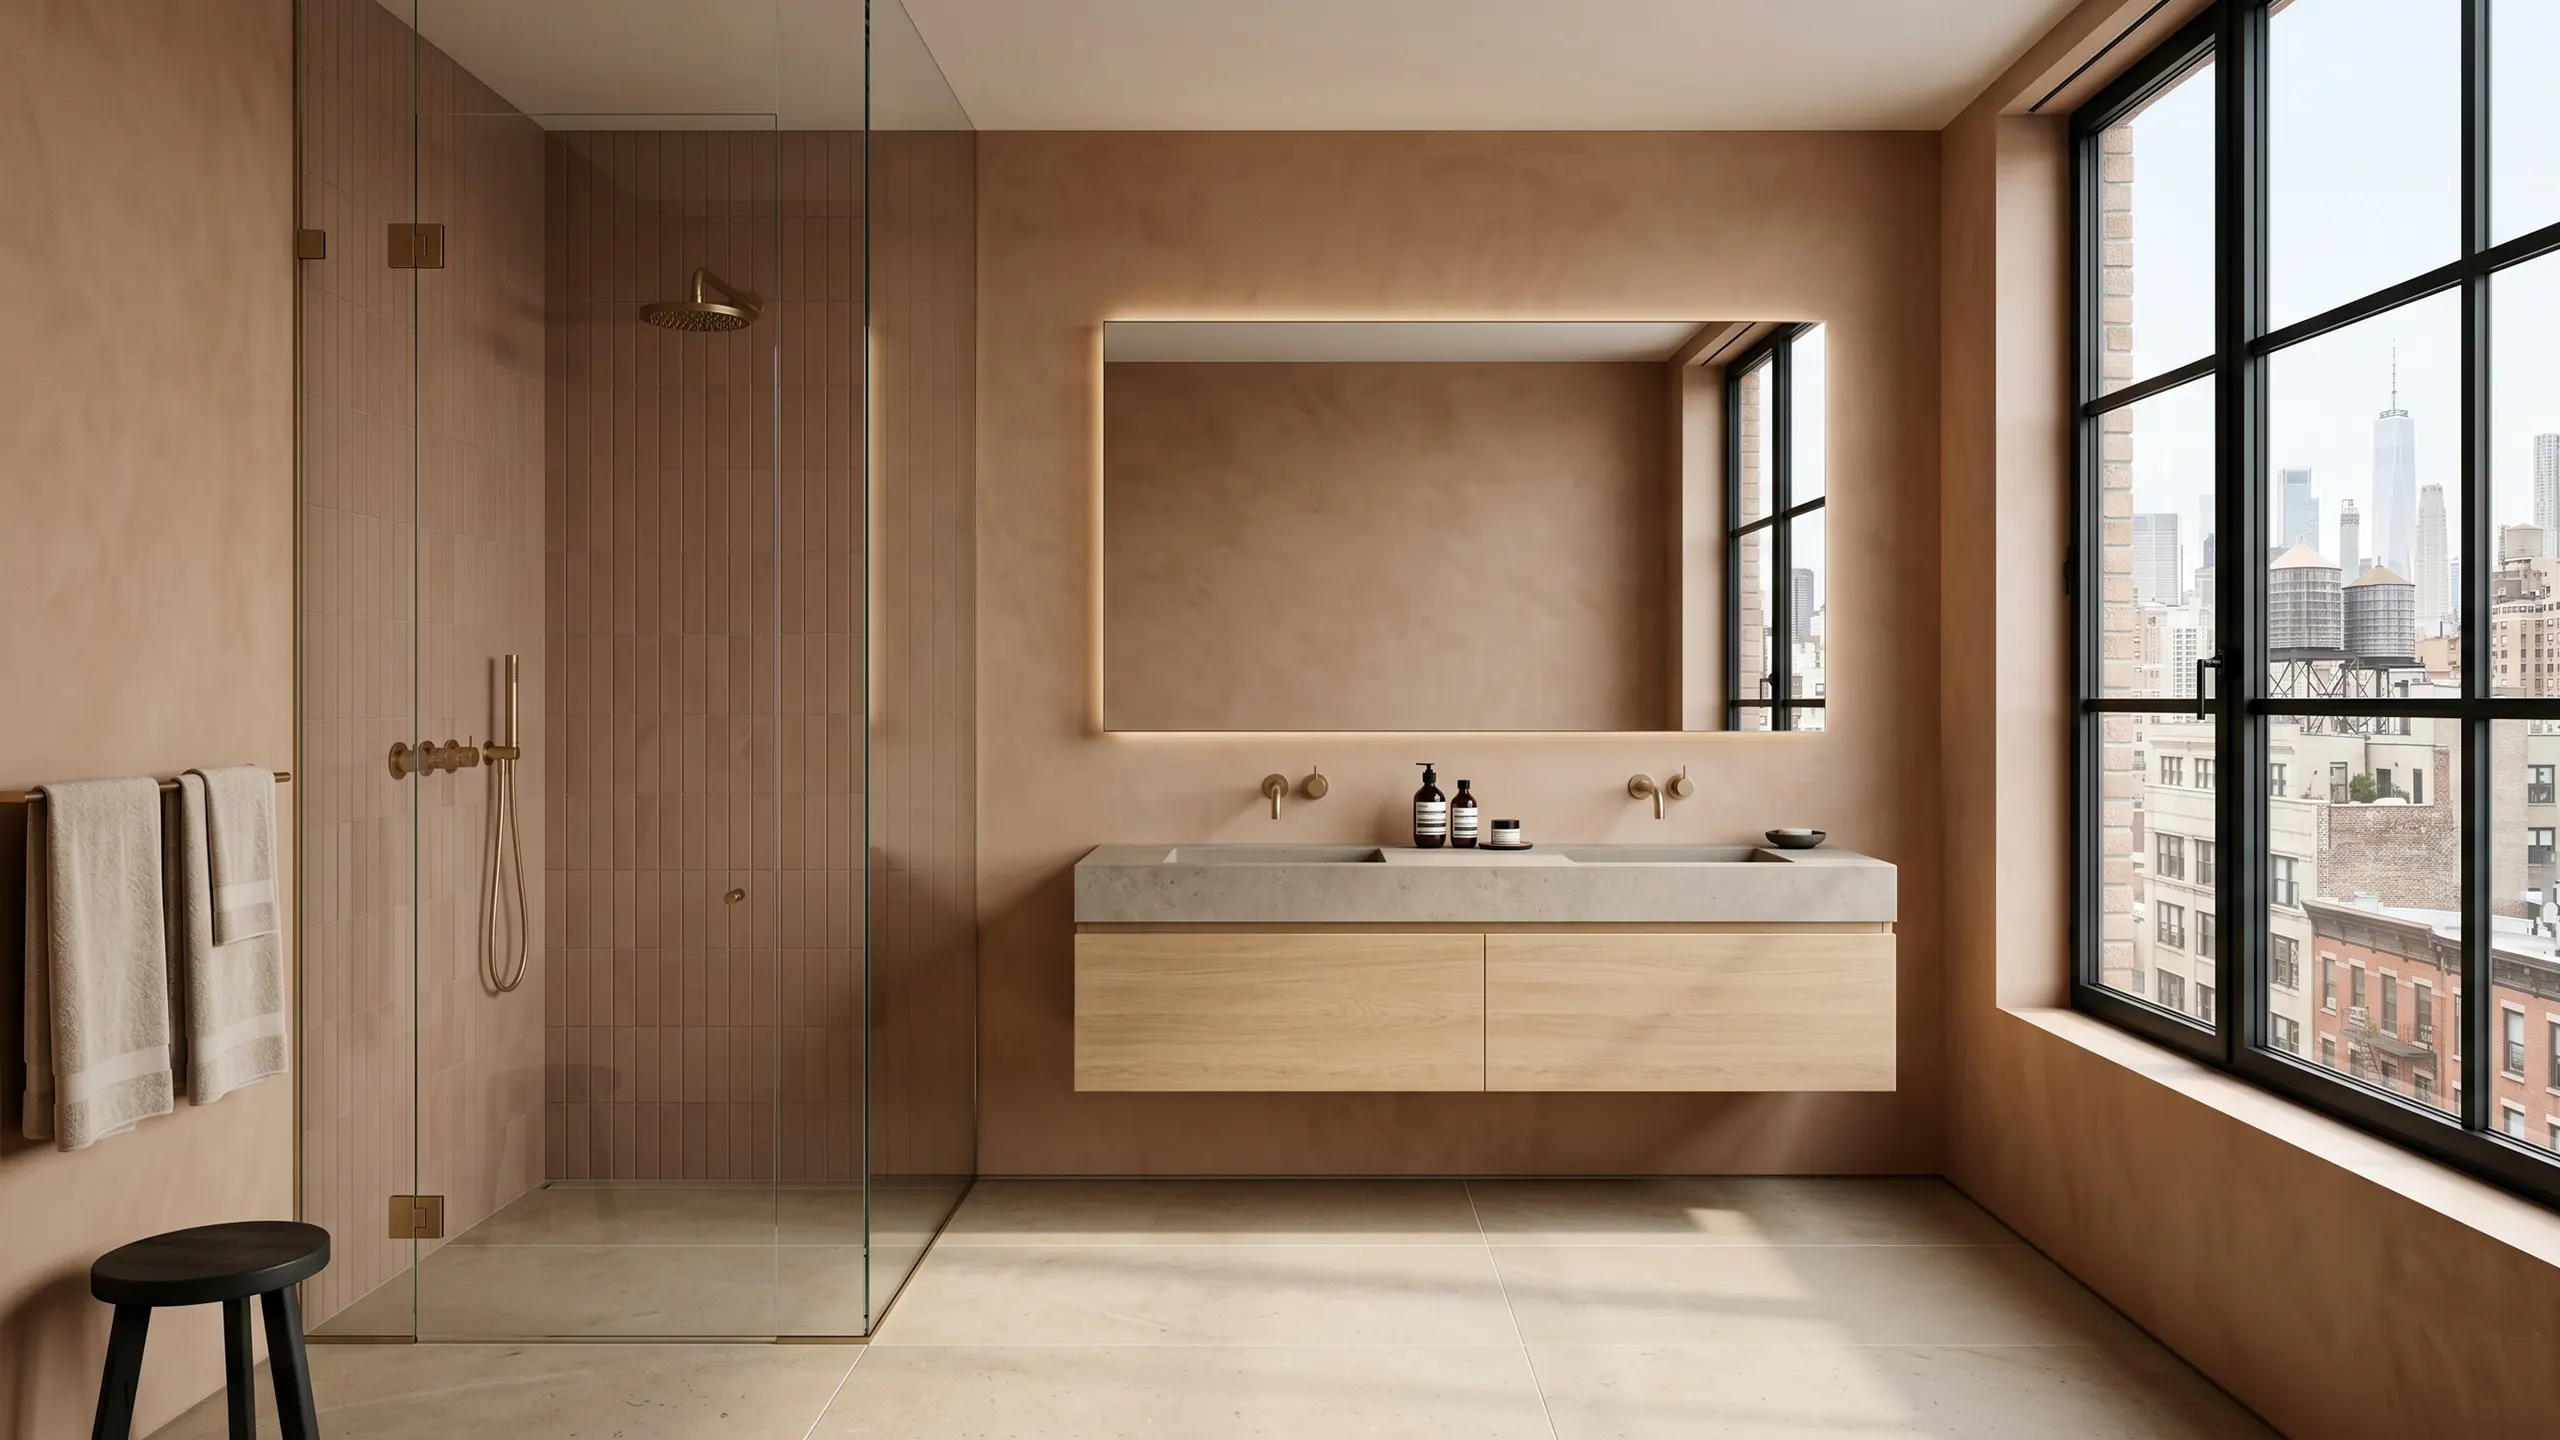
Best Color Combinations for a Bathroom Renovation in NYC (2026 Trends)
Color is the cheapest decision in a bathroom renovation and the most expensive one to get wrong. Eve